
How to create an interactive NFT with Remix for Ropsten
- Dec 12, 2025
- 3 min read

Requirements
Metamask (https://metamask.io/)
Some CPH on Ropsten(https://ropstenfaucet.cypherium.io/)
Pinata account (https://www.pinata.cloud/)
Steps to create an interactive NFT
We will go through the following steps to create an NFT.
Step 1. Add cypher-ropsten to MetaMask
Step 2. Create an account
Step 3. Get 5 test CPH from https://ropstenfaucet.cypherium.io/
Step 4. Write a contract on Remix
Step 5. Using Pinata (IPFS) to add information to your NFT
Step 6. Mint an NFT
Step 7. Check your NFT and play with it
Step 1. Add cypher-ropsten to MetaMask

Network Name: cypher-ropsten
New RPC URL: https://pubnodestest.cypherium.io
Chain ID: 16163
Step 2. Create an account

Step 3. Get 5 test CPH from the faucet
Copy your account address and paste it to the blank, then click the button “Get CPH!”
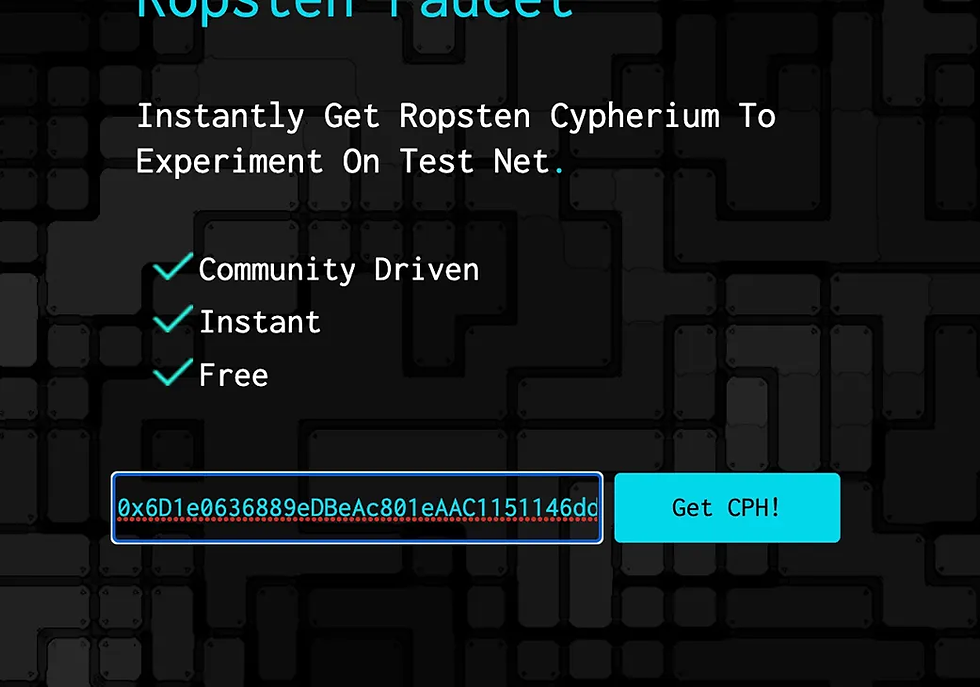
Once you see “Transaction Successful”, your account has been credited with 5 test CPH coins. Check your account’s balance in MetaMask:


Step 4. Write a contract on Remix
We will use Remix to write a contract.
Remix (https://remix.ethereum.org/) is an Ethereum IDE.
InteractiveCube.sol
// SPDX-License-Identifier: MIT pragma solidity ^0.8.10; import “https://github.com/OpenZeppelin/openzeppelin-contracts/blob/v4.4.2/contracts/token/ERC721/ERC721.sol"; import “https://github.com/OpenZeppelin/openzeppelin-contracts/blob/v4.4.2/contracts/token/ERC721/extensions/ERC721URIStorage.sol"; import “https://github.com/OpenZeppelin/openzeppelin-contracts/blob/v4.4.2/contracts/utils/Counters.sol"; contract InteractiveCube is ERC721URIStorage { using Counters for Counters.Counter; Counters.Counter private _tokenIds; constructor() ERC721 (“InteractiveCube”, “CUBE”) {} function mint(string memory tokenURI) public returns (uint256) { uint256 newItemId = _tokenIds.current(); _safeMint(msg.sender, newItemId); _setTokenURI(newItemId, tokenURI); _tokenIds.increment(); return newItemId; } }
It’s time to compile our contract and deploy it to Ropsten, Cypherium’s testnet. This will be pretty easy since Remix offers simple UIs to do that.
Compile the contract
Make sure that you use the compiler that is the same as your code refers to. In this post, we use version 0.8.10.

Deploying a smart contract on Ropsten Test Network. In order to do this:
We are going to move to the DEPLOY and RUN TRANSACTIONS screen in Remix.
Select the Injected Web3 environment, which will display a MetaMask pop-up in order that you allow the connection. Be sure that you are in the Ropsten Test Network and you have some CPH available to deploy and mint.
Select the smart contract that you are going to deploy, in our case, this is InteractiveCube.sol
Click on deploy and wait until your transaction is confirmed.
If all goes OK, our NFT smart contract is deployed in the test network and it is available to be minted with all the NFT that we want. In order to mint new NFTs inside this smart contract, you will need to provide different Metadata and Hash parameters. It won’t be possible that you mint twice the same NFT.

Step 5. Using Pinata (IPFS) to add information to your NFT
We have our NFT Smart Contact deployed in the Rinkerby Test Network and it’s almost time to mint it but before we need to use an IPFS provider to store the data related to the NFT (title, description, link, etc). In this tutorial, we are going to use Pinata as an IPFS provider.
We need to choose the image or gif of our NFT and we are going to upload it to Pinata.
In your browser, open https://pinata.cloud/ and create a new account.
Upload your image or gif and save the IPFS CID. You are going to use it later.
Now it’s time to define the JSON metadata so that we can pass it through to our token contract. In order to display all the data in OpenSea, you will need to follow a metadata template (https://docs.opensea.io/docs/metadata-standards).
cube.json (You can name it whatever you want)
{ “name”: “InteractiveCube 1”, “description”: “Red Cube”, “image”: “https://gateway.pinata.cloud/ipfs/QmaYSb2UuAjoyyfoRWqN7q6mjAn3518idxZwWuxyc4WBkw", “animation_url”: “https://gateway.pinata.cloud/ipfs/QmVpZCEQBAmXQ5L9iTSgMZtKsMqYRKkqZeJUL4WrbnALvx/"}
Step 6. Mint an NFT
Open Remix again and click the Deploy icon. If you open the contract you compiled, there will be mint like the below. You need to copy and paste the json’URI in step 3 and click mint.

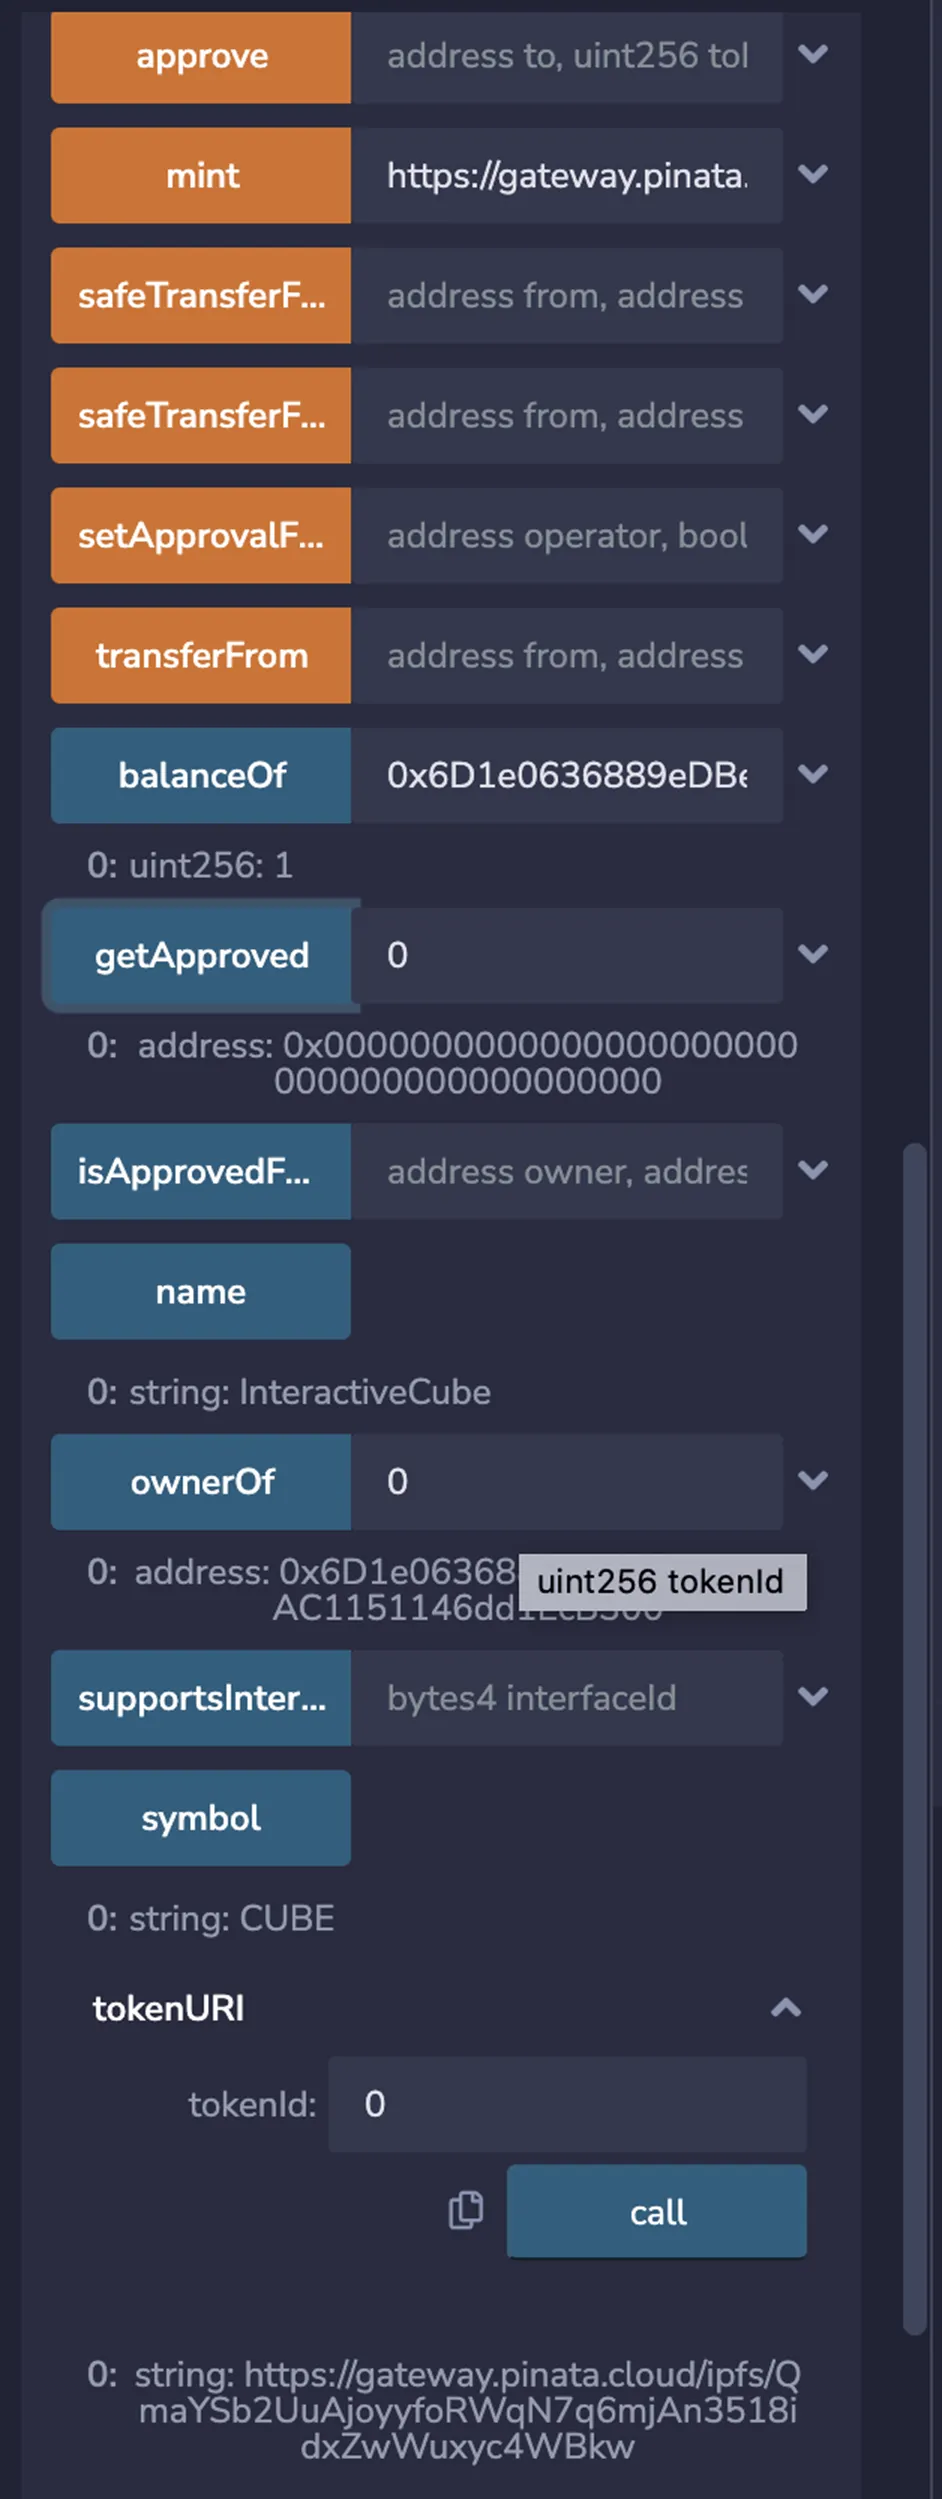
Step 7. Check your NFT and play with it
The last step is to check your minted NFT.
About Cypherium
Cypherium is a layer 1 blockchain protocol designed to offer financial inclusion for its users while delivering operational efficiencies for its enterprise and institutional partners. Using a hybrid consensus mechanism, the Cypherium blockchain is designed to achieve commercial viability while preserving the characteristics of decentralization and distributed ledger technology (DLT). Cypherium’s approach to creating financial inclusion between civilians, banks, government, and enterprises begins with our Digital Currency Interoperability Framework (DCIF). The DCIF is Cypherium’s proprietary architecture for allowing any asset, including Central Bank Digital Currencies (CBDCs), stable coins, and digital assets, to be received or distributed on-chain or cross-ledger. Furthermore, it can be integrated with payment service providers, banks and digital wallets.


Comments